Tamron Blogs
More Photo Tips | Video Gallery | Photo Gallery | Enewsletter sign-up
How to: Tamron Pro Tips for Night Sky Photography
Whether you’re an astronomy aficionado, a night owl, or someone who’s simply looking for a new photographic challenge to take you beyond your usual landscape photos, taking pictures of the sky when celestial objects other than the sun are in clear view is a thrilling way to inspire your viewers. Astrophotography isn’t the type of photography you can just wander into, however: Planning is key, and knowing how to set up your camera and compose your shot can make the difference between a so-so photo and one that’s literally out of this world. Read on for our experts’ favorite tips on heading out into the darkness. The moon, stars, and planets await.
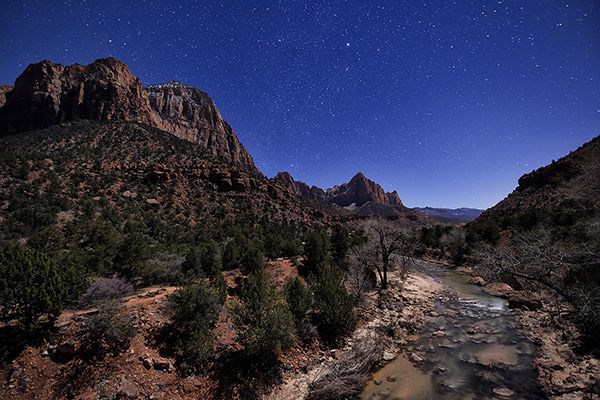
© Ken Hubbard
Click image to view larger
Tip #1) CHOOSE YOUR LENS. The first piece of equipment to think about is the lens— and the faster the better. If you’re trying to capture the Milky Way and pinpoint stars, a high-quality, fast aperture lens of F2.8 or larger will help you speed up your exposure times to ensure crisp images. Wide-angle lenses are also fun for this type of photography. Since the idea is to get the sky in the image, why not get as much as possible with the widest-angle lens you have? Tamron’s 11-20mm F2.8 Sony crop sensor mirrorless or 17-28mm F2.8 for Sony full-frame mirrorless cameras work wonderfully for these types of images.
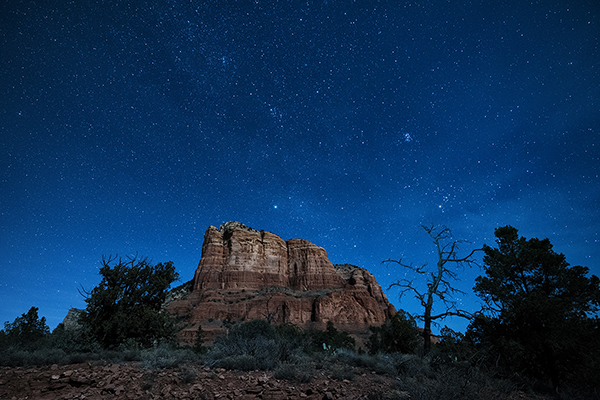
© Ken Hubbard
Click image to view larger
Tip #2) PACK A PROPER TRIPOD. A tripod for night sky photography is a necessity, not an accessory. You’ll have to leave your shutter open, in many cases for at least 10 seconds or longer, and that simply can’t be done handheld. A tripod is also an essential tool for maintaining composition. It allows you to make incremental movements that can make or break an image’s uniqueness. For the best results, a tripod with three or four leg sections works best, but don’t skimp on the ball head. You’ll likely want one with the least number of controls, and one with small knobs over a ball head with large levers. This will prevent you from accidentally bumping it in the dark. Shutter release cables and remotes are also essential for sharp images.
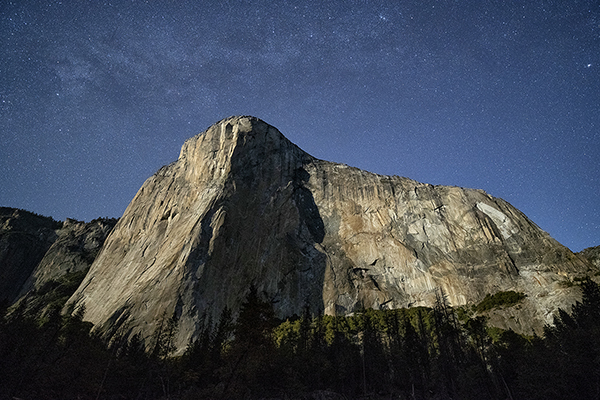
© Ken Hubbard
Click image to view larger
Tip #3) USE THE LANDSCAPE’S ELEMENTS AS YOUR ANCHOR. When photographing the night sky, we’re often overcome by excitement at photographing something so amazing. But the landscape around you can enhance your viewers’ perspective of that scene. Retain a sense of place in your frame, whether that means showing a foreground object in silhouette or light painting so that the entire landscape shows up in the scene.
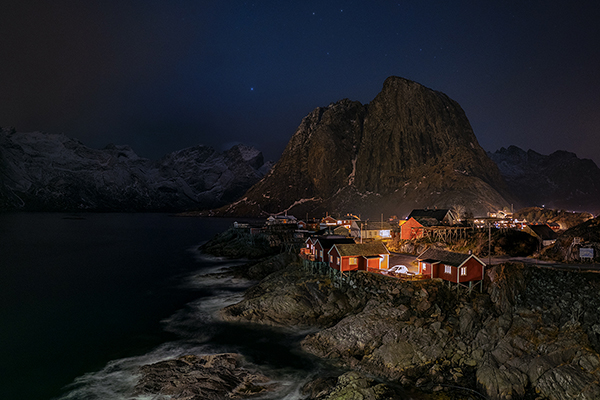
© Ken Hubbard
Click image to view larger
Tip #4) KEEP IT SHARP. Focusing on the night sky in total darkness is one of the most difficult tasks you’ll encounter in night sky photography. Once you’ve achieved it, however, you’ll want to place a piece of gaffer tape over the focusing ring and lens barrel to hold everything in place, so you don’t have to keep trying to find the proper focus.
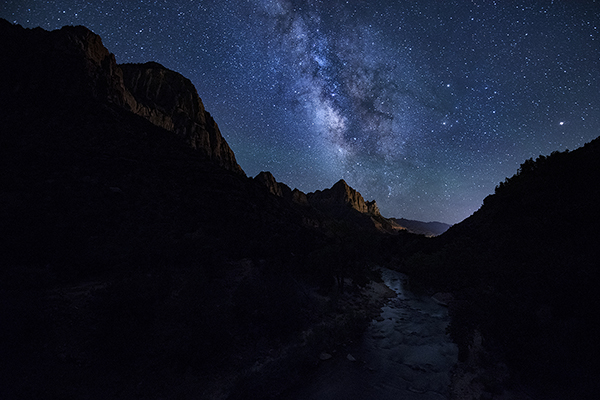
© Ken Hubbard
Click image to view larger
Tip #5) DETERMINE THOSE ELEMENTS’ RELATIONSHIP TO THE NIGHT SKY. Whether your complementary subjects are mountains, rock formations, or man-made structures like silos, you may want to scout out locations that frame or focus on those subjects the way you’d like. Taking a few steps to one side or the other, or moving closer or further from the subject, can drastically change your composition, so lining up all the disparate elements is what will bring your image together. If you don’t want to do silhouettes of your subjects, you can use the light of passing cars to illuminate them.
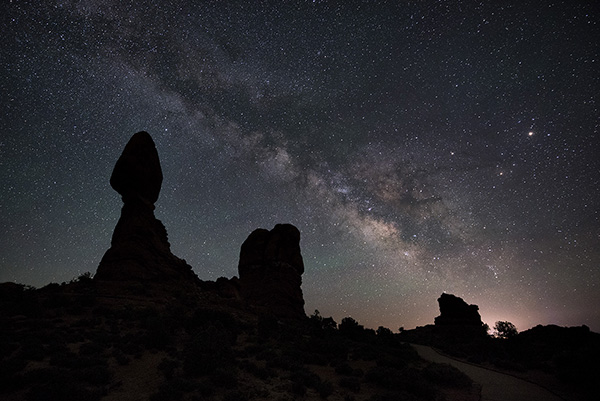
© André Costantini
Click image to view larger
More Photo Tips | Watch Videos | Learn More About Tamron Lenses | Photo Gallery