Tamron Blogs
More Photo Tips | Video Gallery | Photo Gallery | Enewsletter sign-up
How to: Use a Filter
Article & Images © Armando Flores
I remember back when I was shooting with film cameras that filters were as important as the aperture, shutter speed and the ISO. In fact, I remember carrying a bag full of filters because I needed to filter the light before it exposed the film. The reason being was that film was rated or color balanced for daylight. So, any time that you photographed under any other lighting condition you needed to filter the light, correct it or convert it to daylight.

© Armando Flores
The invention of the digital camera has changed the need for most filters. You now have a White Balance mode on digital cameras that allows you to color correct in camera from one frame to the next. Ironically Eastman Kodak, at one point the largest film and photographic products manufacturer in the world was also the inventor of the digital camera. With digital photography you only need three filters: a protective or UV filter, a Circular Polarizing (CPL) filter, and a Neutral Density (ND) filter.
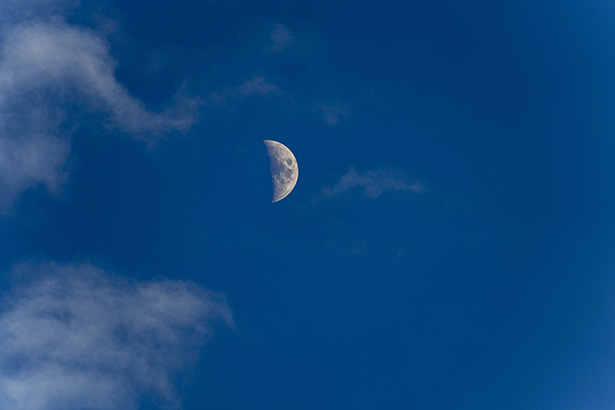
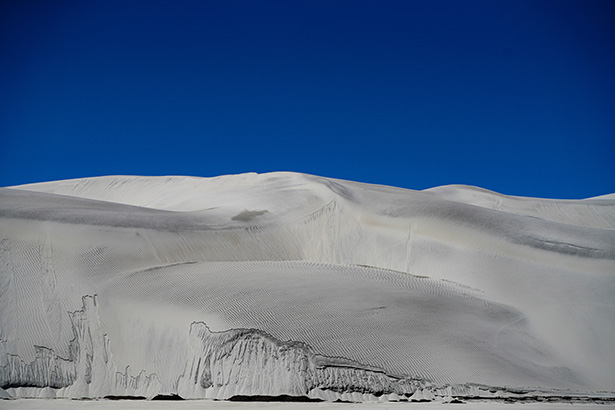
The job of a protective or a UV filter, which will reside permanently on your lens, is to protect the front element from scratches or debris impacting it, you may also think of it as insurance for the front of your lens. The Circular Polarizing filter is designed to remove or reduce glare from most nonmetallic surfaces, glare increases the highlights on surfaces that reduce color and detail. A CPL filter will allow you to photograph through glass and water and it will also control atmospheric haze, improve contrast, and increase color saturation. The Neutral Density filter reduces the intensity of all the wavelengths of light equally from entering the lens in measured amounts. The ND filter therefore allows the photographer the control of slower shutter speeds and or larger apertures during daylight or in varied lighting conditions. This allows you to create motion blur or a shallower depth of field not possible in bright or harsh light. ND filters are available in fixed increments usually ranging from 1 stop to over 10 stops, or as a variable ND (essentially two CPL filters placed together) where you can dial in the amount desired (but limited to the filter purchased).

© Armando Flores
Filters like camera lenses are made of varying quality, so make sure to purchase one equal to or better than the lens being mounted on. You do not want to take a thousand-dollar lens and put on a ten-dollar filter, that would give you the quality of a ten-dollar lens. CPL and ND filters on the other hand will be the most expensive of the filters needed for digital photography. A suggestion is to purchase those filters for the largest diameter lens in your camera bag. Then you can purchase step up rings that will allow you to use those filters on your smaller diameter lenses. Remember to always refer to the owner’s manual.
More Photo Tips | Watch Videos | Learn More About Tamron Lenses | Photo Gallery