Capturing the Crave
Derrick Zellmann gets viewers' mouths watering with the tasty dishes—and the culinary masters who create them—in front of his Tamron SP 85mm F/1.8 VC and SP 90mm F/2.8 Macro VC lenses.
As seen in Tamron Magazine: Issue #6 Summer 2019
More Photo Tips | Video Gallery | Photo Gallery | Enewsletter sign-up
Images by Derrick Zellmann
Derrick Zellmann has become an in-demand portrait photographer in Boston, capturing everyone from newborns, families, and engaged couples to athletes and local firefighters. Seven years ago, he added food photography into the mix, and he's been documenting the region's delectable dishes and the personalities who create them ever since. "Just like with my other portraits, whether I'm taking a picture of an executive chef, a farmer, or a pastry chef, I'm trying to pull out the character of that person, both by forging an intimate connection between the viewer and the subject, and also by taking an environmental portrait that shows enough of their background to paint a more complete picture," he says.
When he shoots the food itself, Derrick's main goal is to make his subject irresistible. "I want to create a craving for the viewer," he says. "I think the biggest compliment I ever got was when a vegetarian who'd seen a photo I'd taken of a steak said they were tempted to break from their vegetarianism."
Derrick—who typically uses the Tamron SP 85mm F/1.8 VC lens for his portraits and the Tamron SP 90mm F/2.8 Macro VC lens for his food photos—has also forged a unique photographic path with what he calls his "what if" photos. "I go into a shoot knowing the specific pictures I'm expected to come out with, but the whole time I'm thinking about an image that might be a little more unconventional," he says. "I'll save these 'what if we tried this' photos till the end, when the subject and I are really comfortable with each other."
That approach paid off when he photographed Matt King, the executive chef for Boston's Smith & Wollensky steakhouse. "I'd seen the restaurant's famous tomahawk rib-eye steaks when I'd come in, so at the end of our shoot, I had the idea to put Matt in front of the wood walls in one of the restaurant's banquet rooms, train a dramatic one-light blast on him, and have him simply smile and swing that tomahawk steak over his shoulder like he was going to work. He looked at me, grabbed the rib-eye—which was bleeding all over the place—and said, "Let's do it."
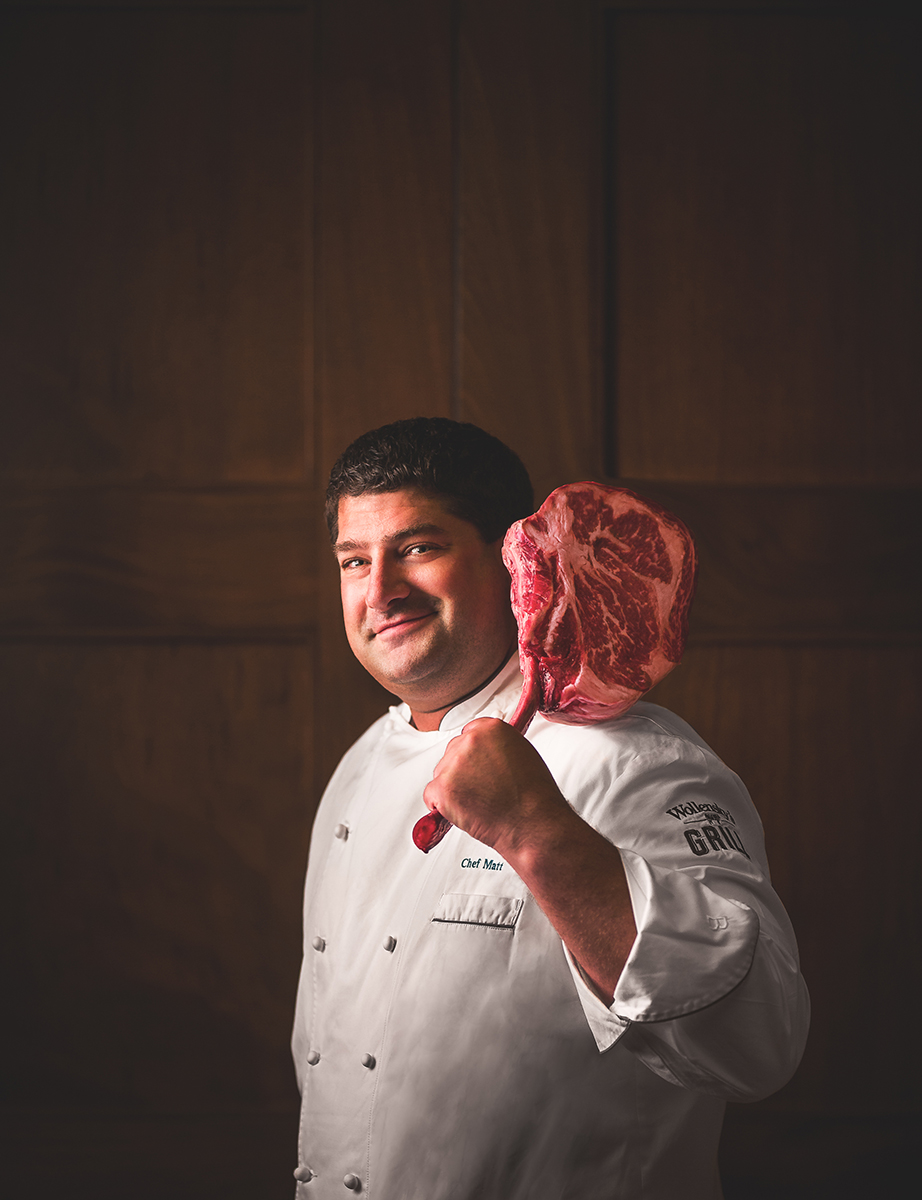
85mm, F/2, 1/125th sec., ISO 400
Click image to view larger
Derrick did the same with Elyse Purbaugh, the owner of Weesh Bake Shop. "Elyse creates the most incredible baked goods with beer and spirits, doing things like fermenting whiskey into blueberry frosting," he says. "We were so at ease by the end of the shoot that I asked her to grab a doughnut and a bottle of Jack and ham it up a little. It turned out to be one of the best shots we got that day."
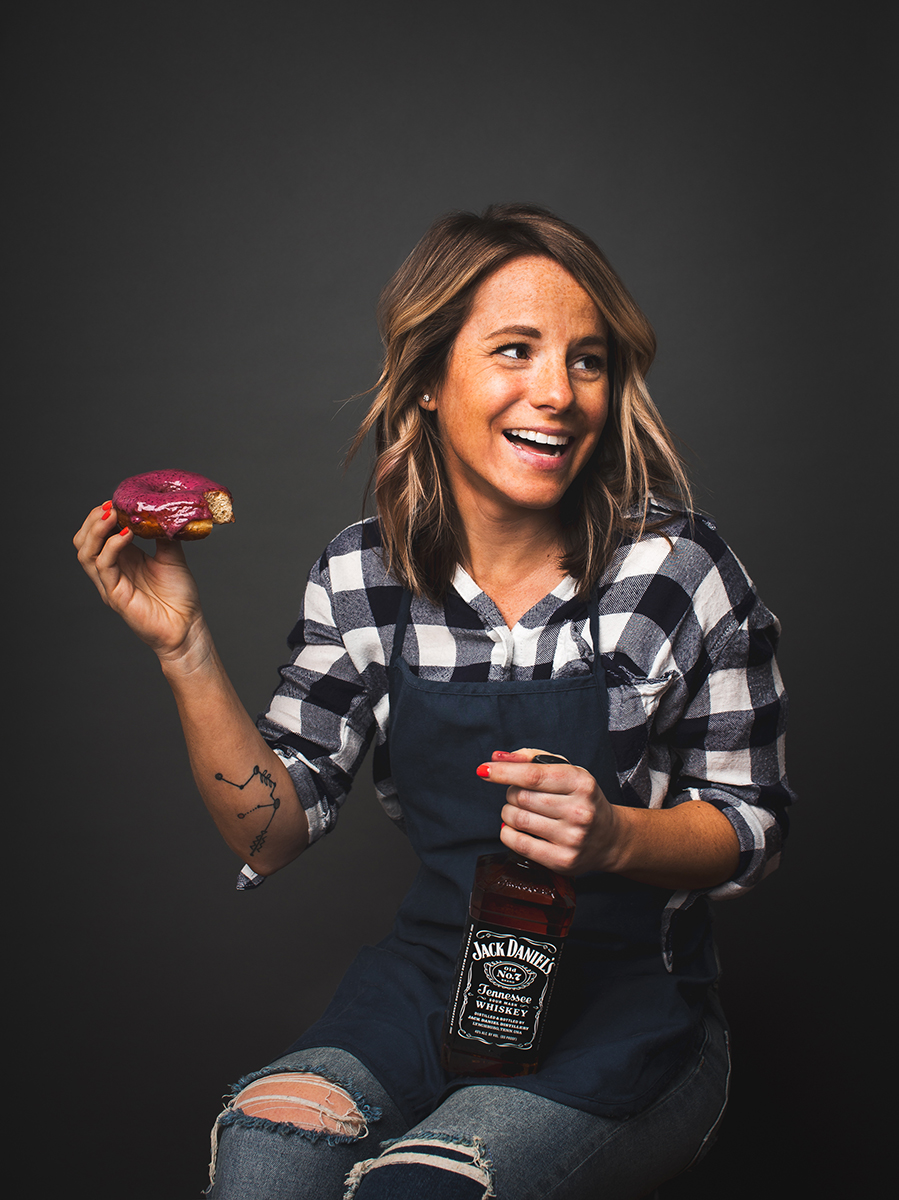
85mm, f/6.3, 1/125th sec., ISO 125
Click image to view larger
PHOTO TIPS: FOOD PHOTOGRAPHY AND ENVIRONMENTAL PORTRAITS
Prompt relaxation with the "10-minute rule."
This means don't take any pictures at all within the first 10 minutes. Just talk to your subject, or catch up with them if it's someone you've already worked with. By forming that rapport, they'll be more comfortable in front of your camera. Plus, I keep my camera completely hidden during those 10 minutes. Many people have the same level of fear and anxiety at being photographed as going to the dentist, and you wouldn't want the first thing you see at the dentist's office to be the drill.
Incorporate their tools of the trade.
When I first started studying photography, one of my instructors said that if you see your subject struggling, give that person something to hold, whether it's their favorite knife or a cooking tool. That's the security blanket that will help them to relax. You'll see what I call the "shoulder drop": Hand them their tool, and their upper body and shoulders will almost immediately fall into a more relaxed, inviting posture.
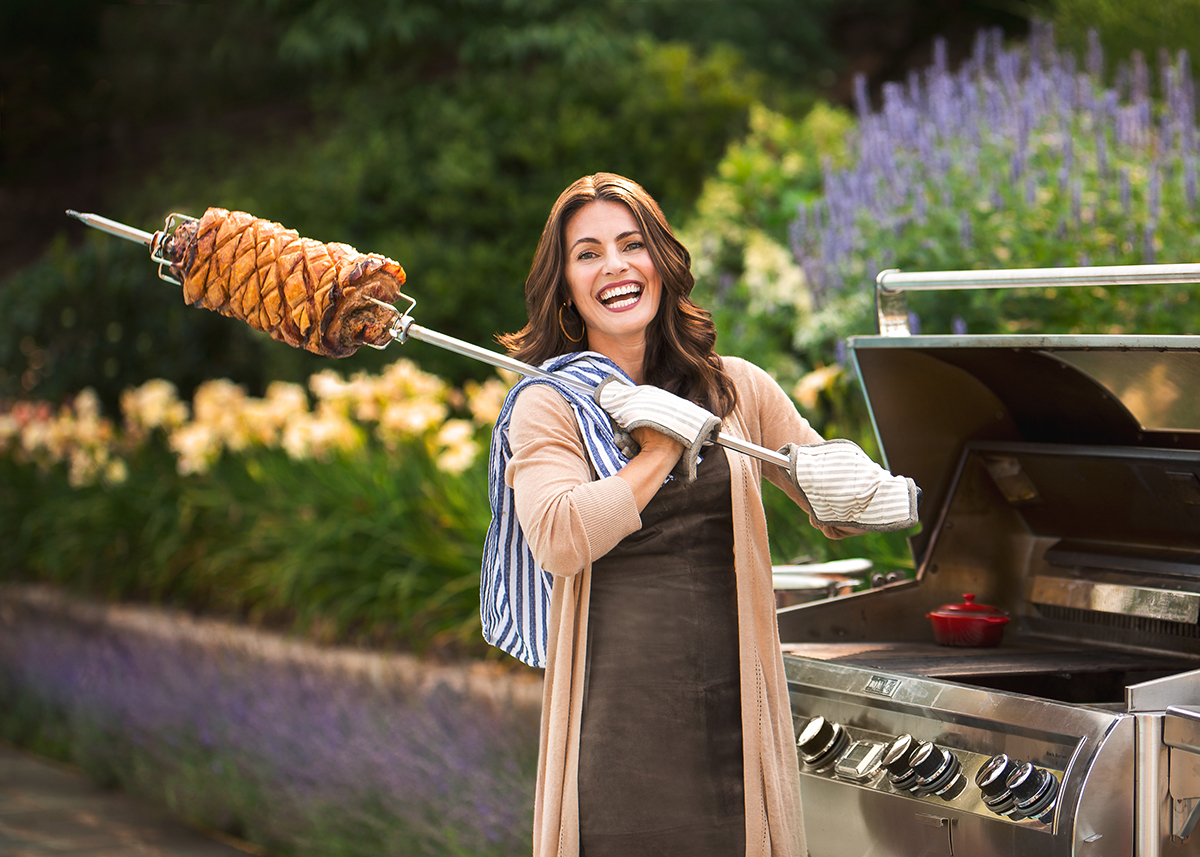
85mm, F/2.2, 1/400th sec., ISO 160
Click image to view larger
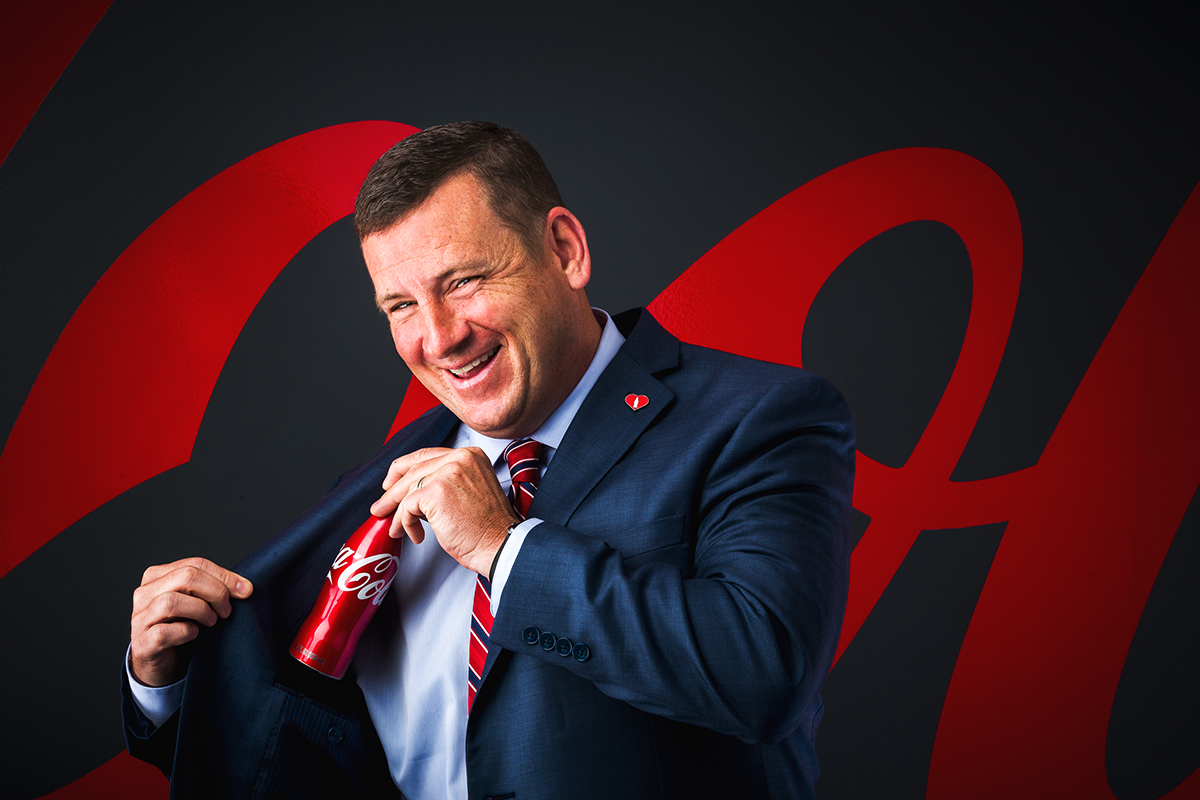
85mm, F/20, 1/125th sec., ISO 100
Click image to view larger
Know when to zoom in and when to pull back.
When you're shooting an environmental portrait, it's tempting to want to include as much background as possible in the photo—and that may often be warranted. But sometimes the story is even more compelling on the person's face: their wrinkles showing the time that's gone by, or a dramatic stare that makes you wonder what they're thinking. That's when you should zoom in for a more intimate close-up. Even going in tighter with the 90mm rather than the 85mm can tell a completely different story.

85mm, F/2, 1/320th sec., ISO 160
Click image to view larger
Encourage "authentic thinking" in your poses.
There's often an expectation that portrait subjects have to be sitting with great posture, staring straight into the camera. But sometimes a powerful expression can come from your subject looking elsewhere. I was photographing Daniel Bruce, the head chef for Boston's Meritage, for the 30th anniversary of the Boston Wine Festival he founded. I wanted to evoke an expression as if he were looking back in time, remembering when he first started the festival and how it had evolved since. To make him more comfortable, I had him look away from the camera and out the window toward the water. I saw him relax and literally start thinking. Sometimes you can only capture an expression like that by having your subject look away from the camera.

85mm, F/2, 1/800th sec., ISO 320
Click image to view larger
Experiment with lighting.
For my portraits, what type of lighting I use depends on what the assignment is. If it's something more dramatic or dynamic, I might use strobes; if it's something quieter or more intimate, it might be window light. Overall, it's simply looking at the direction of light that flatters your subject most. My other suggestion is to place just as much attention on where the light isn't hitting as where it is hitting. It's easy to throw on a strobe, point it in the general direction of your subject, and hope for the best, but massaging that light to only hit certain vital areas will produce a more captivating photo.
For photos of the dishes themselves, I think there's a misconception that all food should be lit with nice, soft light with very little tonal difference. While that may be safe and "pretty," instead play around with hard light and soft light to see if you can come up with something unexpected.
Figure out who your "star" is.
I think of my shoots almost like the production of a movie or a play, and who's the main character. I'll give that star the main focus, and while the rest of the elements won't be totally out of focus, they'll play a smaller role within the photograph. The octopus itself is the star of the photo here, with its texture and circular form center-stage, so the focus will start there before I lead the viewer on a journey down through the photo to the vegetables and starches on the plate. In the sorbet photo, I want the viewer to center on the details of the raspberry, so that becomes the star in that image.
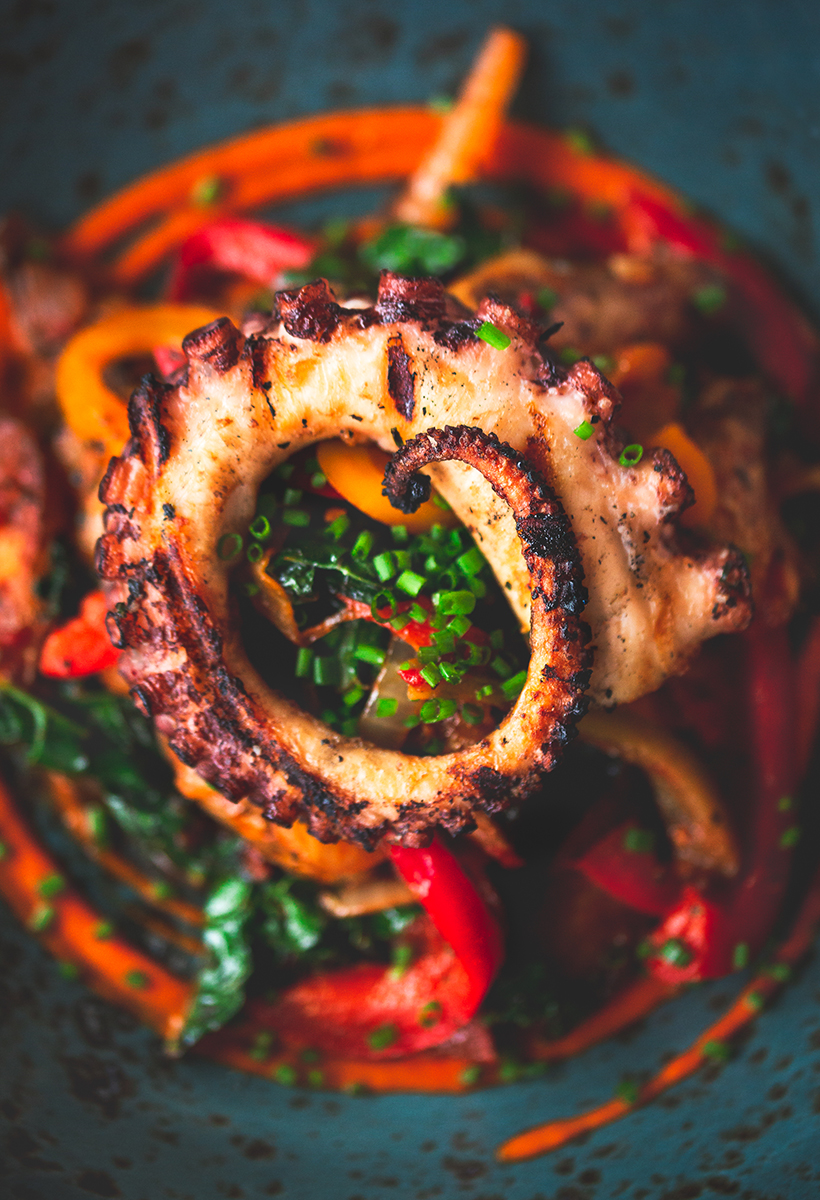
90mm, F/2.8, 1/250th sec., ISO 1600
Click image to view larger
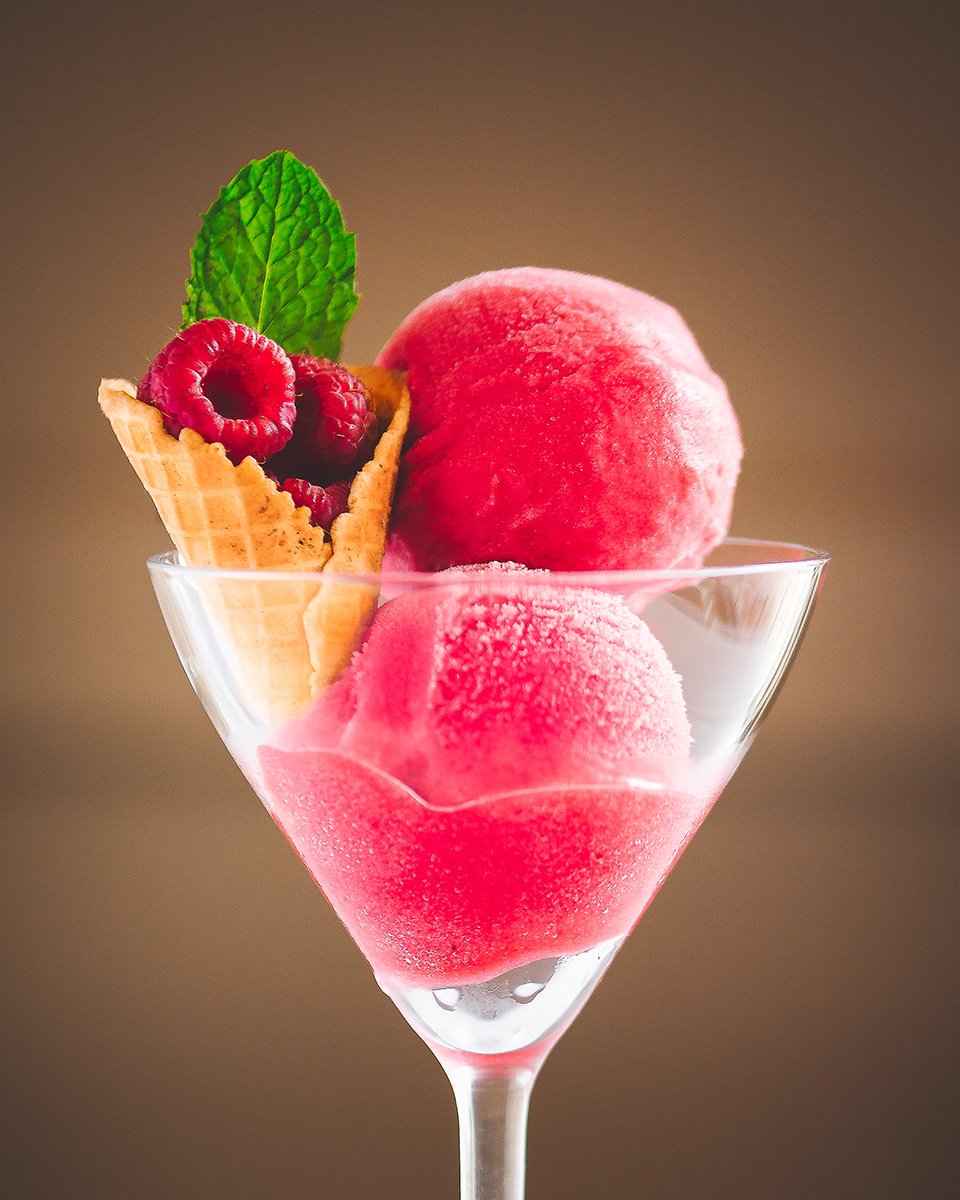
90mm, F/2.8, 1/250th sec., ISO 800
Click image to view larger
Find the most "craveable" angle.
Deciding how to shoot your dish means figuring out what the most appetizing part of it is. Take the burger shown here, for example. If I'd shot it from above, you'd see a perfectly circular bun, and…that's it. Not very exciting. However, if I shot it from the angle you see here, you'll see all of its ingredients, including the egg and its yolk dripping down the side. The octopus photo was the exact opposite—that actually called for shooting it from above, because compositionally it highlighted the circular swoop of the octopus, complemented by the colors of the plate it was on.
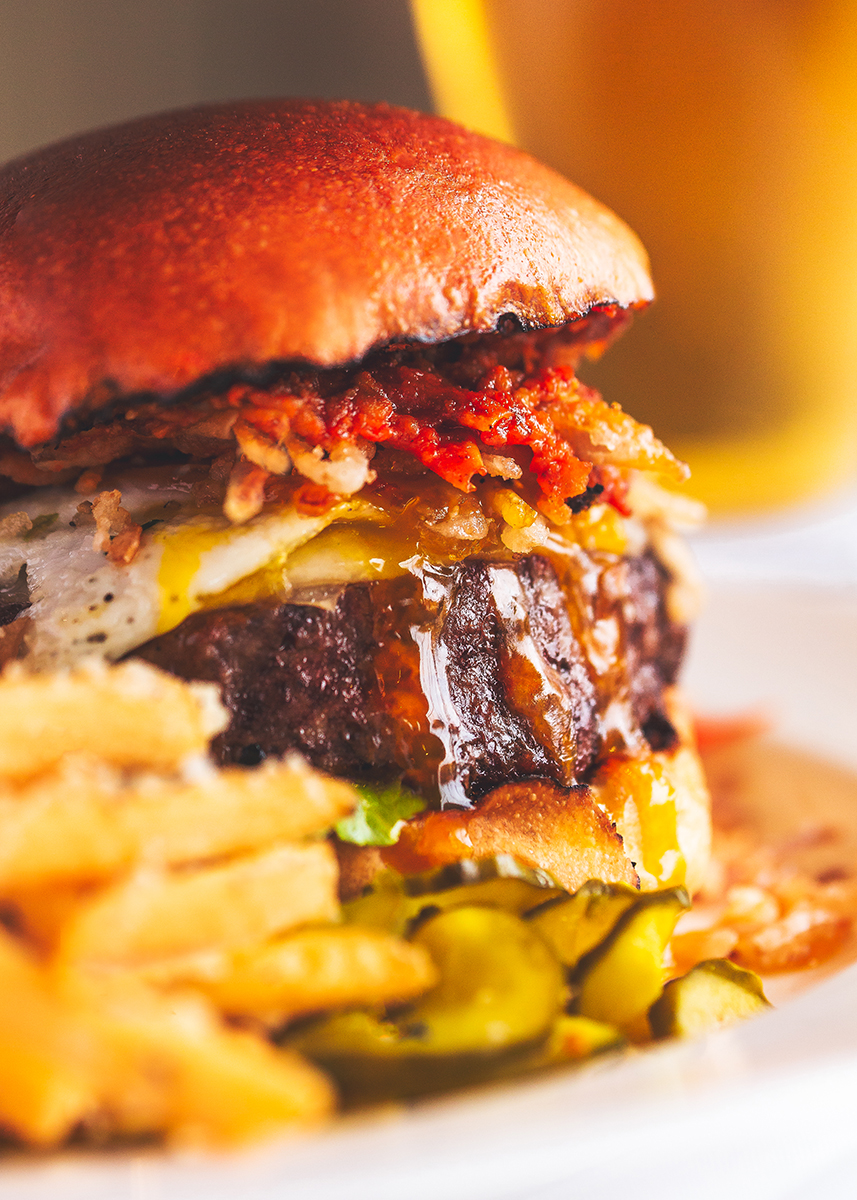
90mm, F/3.5, 1/250th sec., ISO 1250
Click image to view larger
As for the pasta dish with the herb mascarpone cheese melting on top, that's a signature dish at Alma Nove, a Boston-area restaurant owned by the Wahlberg brothers that's also renowned for its wine pairings. I didn't want the wine to overshadow the dish itself, but I still wanted to include it, so that's why I shot it from the angle I did here.
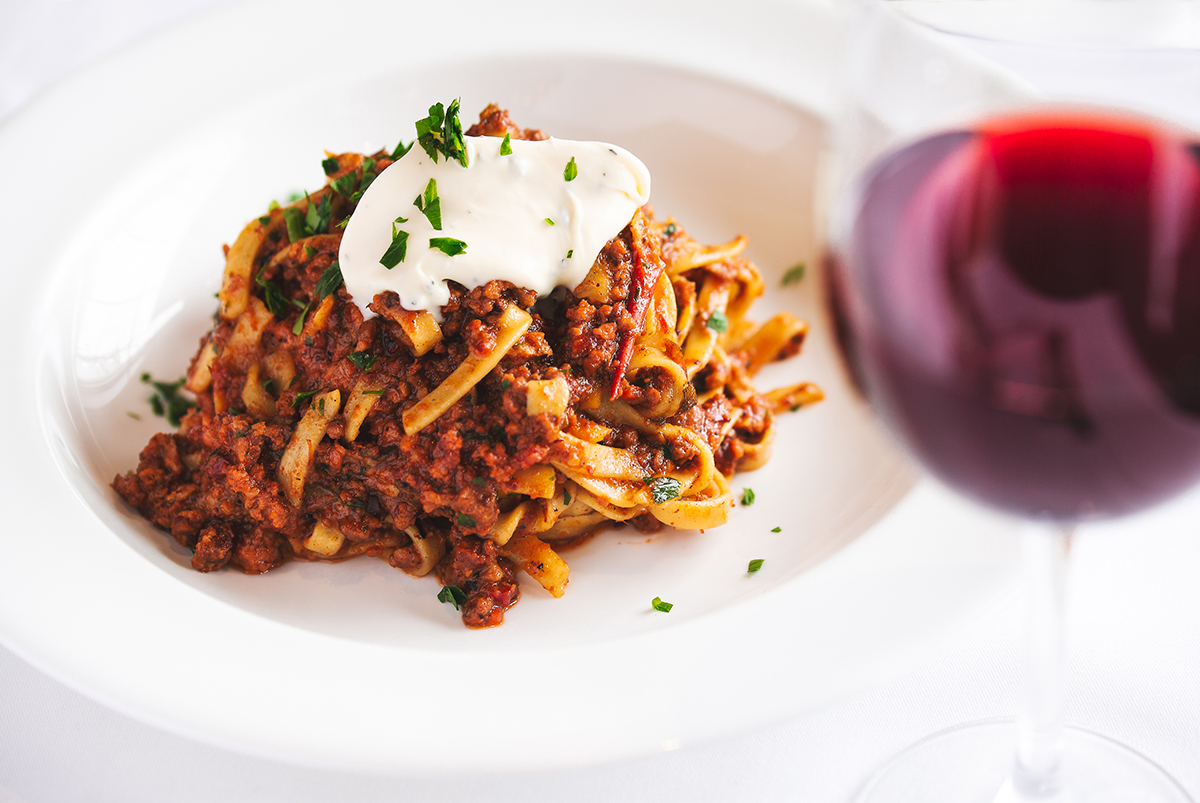
90mm, F/3.5, 1/125th sec., ISO 400
Click image to view larger
Seek out a complementary background.
You want a balance so that the textures, colors, and tones support your story or mood, but in a way that doesn't take away visual interest from the main dish. One way I do this is to assess the "level of fancy" of the food, and what you want to impart about the location where the meal is being served. For instance, with the pasta dish, it's a dish with high-end ingredients, so I wanted a more refined, simplified background. With something like the burger, though, that's simply oozing with juice and egg yolk, the background can be a little more fun or rustic.
Make sure your colors are accurate.
That means making sure your white balance is spot on, and your lighting is consistent; you don't want all different color temperatures. That gives you the ability later on to push colors in various directions, which could mean tweaking the intensity or saturation, or enhancing just one set of colors in an image. The sorbet image is a perfect example. By using a device that ensured my white balance was perfect, I was then able to later enhance the reds to create that super-punchy color without disturbing the other colors, like in the soft vanilla cone.
90mm, F/2.8, 1/250th sec., ISO 1600
Click image to view larger
More Photo Tips | Watch Videos | Learn More About Tamron Lenses | Photo Gallery