- .
-

Making a Lightbox
Hello fellow shooters, I am here (and in the future) to bring some DIY techniques in order to help that photographer in you to keep shooting! Today’s project involves making our own lightbox that can be used for both product and macro photography. Yes, normally it would be easier to go out and buy one, but here we won’t be breaking the bank plus we get some gratification out of making something. -
First a check off list of what we will need:
-
Cardboard box (free)
-
White foam sheet ($0.99)
-
Large white felt sheet ($4.29)
-
Masking Tape ($1.99)
-
Glue ($0.99)
-
LED light bulb ($5.29)
-
Other miscellaneous items include box cutter, scissors, ruler or level, and printer paper…
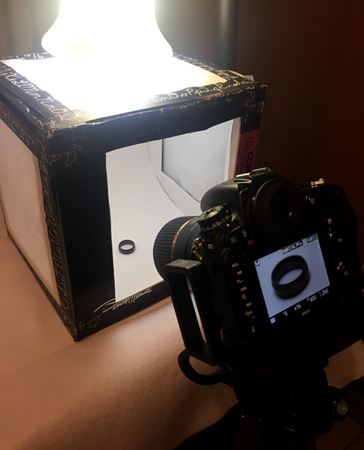
Step 1: Cut the box - To start things off we will need to cut out windows on each side and the top of the box. Make sure NOT to cut out the bottom. Measure about 2” from the edge of the box and make markings. From there, make your cut outs with the box cutter.
Step 2: White out inside - Glue the inside of the box with white printer paper so the color of the box does not affect the image. We then take our white foam sheet and measure the width so it is just a bit smaller than the width of the box. Slide the foam sheet in so there is a curve and no hard crease as this will also show up in your final image. Any excess foam sticking out top can be cut off.
Step 3: Add Diffusor – To diffuse my light, I decided to go with white felt. It was just what was available to me at my local crafts store and was inexpensive. White muslin would also work very well. You can save even more money by using white bed sheets, tee shirts, pillowcases…you get the idea. With my felt, I measured and cut out 3 squares that would cover my windows on the box and taped them on with the masking tape.
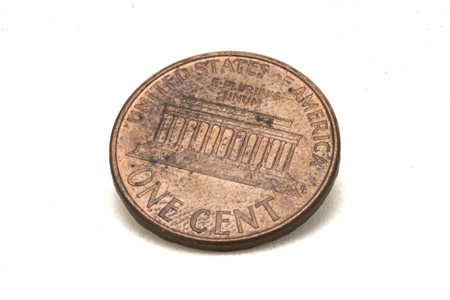
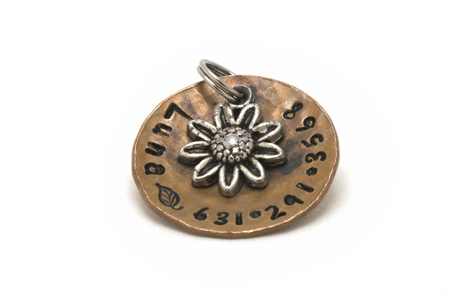
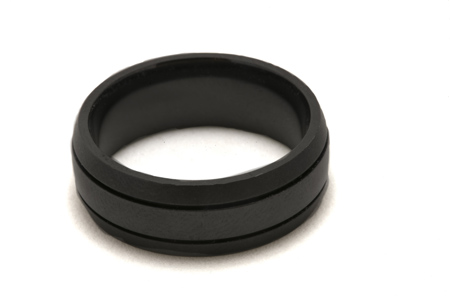
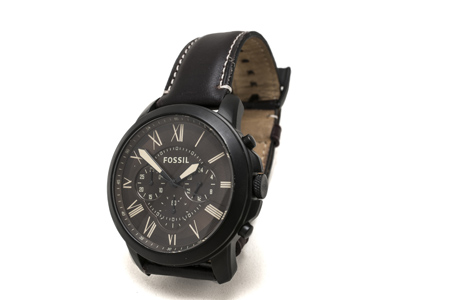
Step 4: Light it up – The lighting on this project will be the most expensive but most important part of it all. You want to make sure to use LED light bulbs and in my case I purchased a 75watt daylight LED light bulb. From there all you need is some sort of desk lamp to point the light into you lightbox. All you need to make sure of is that it is something that will be able to point straight down from the top.That’s all there is to it! This only took me about 20 minutes to setup and was something I haven’t done before. The setup is certainly ideal for lenses that are either macro or have close focus capabilities. As you can see in the photo below, the lens has to be inside the actual box while shooting. That is why I chose to use my Tamron 90mm f/2.8 VC USD 1:1 Macro along with the Tamron 35mm f/1.8 VC USD. Between these two lenses I had the ability to either get true macro shots or shoot something a little wider (the watch) and still be able to focus at 8”. Now it’s your turn to go out and get a little crafty…happy shooting!
-