Enewsletter
December 2011
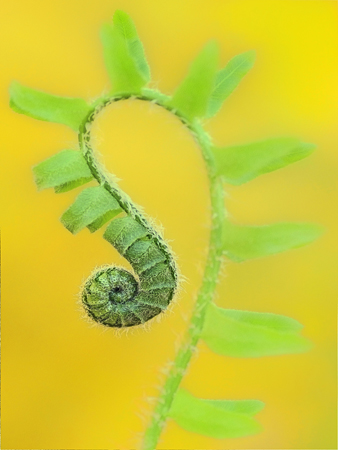
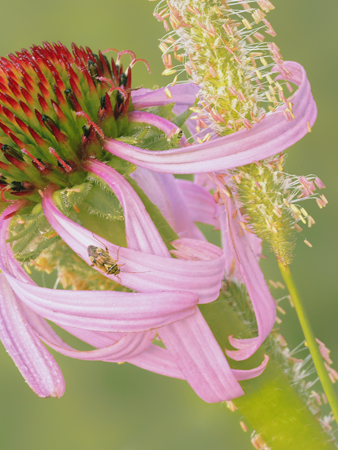
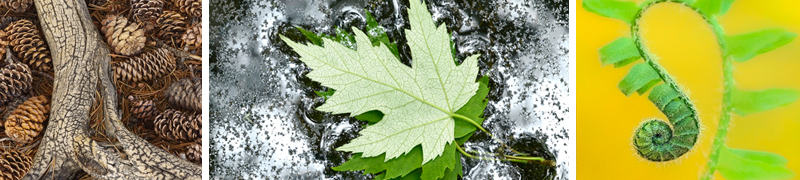
Pint-Sized PhotographyMike Moats offers macro tips and techniques for shooting the tiniest subjects. |
Article By Jennifer Gidman Images by Mike Moats |
Nature photographer Mike Moats knows his macro. His macro boot camps have sold out for 28 straight sessions, hes got a series of macro ebooks under his belt, and he recently started tapping into webinars as a new method of sharing his photography expertise. Webinars are a unique way of teaching people, he says. I saw different companies offering webinars and thought it was a great way to teach photography. |
Moats is also the judge for Tamrons My Macro Exhibit photography contest, in which entrants create a 3D virtual exhibit of their best macro shots to be displayed on MyPhotoExhibits. The winner of the contest will be featured on Tamrons website in February 2012 and will receive his or her choice of one of four Tamron lenses. |
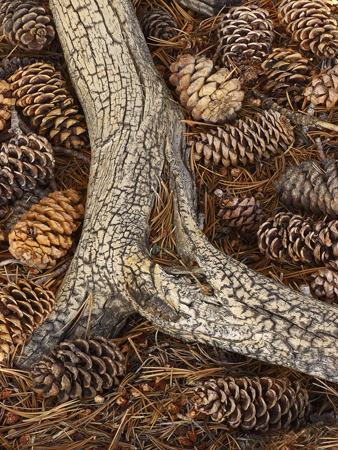
In his own macro arsenal, Moats uses the Tamron 60mm, 90mm, and 180mm lenses. All three are sharp-shooting lenses, he says. There are specific subjects I target depending on the time of day and time of year, so which macro lens I use depends on what Im shooting. The 180, for instance, gives me the reach I require when I need that working distance between me and the subject. The other day, for example, I was out shooting abstracts of newly formed ice on a pond I wouldnt have been able to get those macro shots without the 180.
|
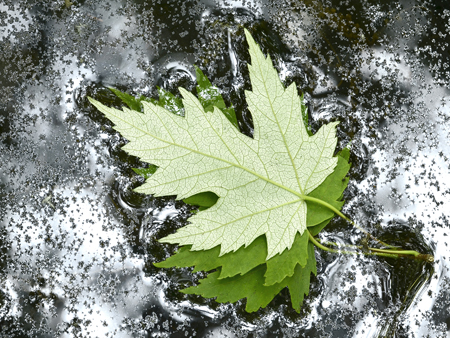
Moats uses the 90mm for stationary subjects such as flowers and leaves on the ground, while the 60mm macro comes in handy when hes shooting inside during the colder months. During the winter, when Im shooting inside in tighter quarters, the shorter working distance of the 60mm works best for me, he says. I dont do a lot of handholding, but that shorter working distance and the fast 2.0 aperture of the 60mm is also ideal for people who want to handhold and use a faster shutter speed.
|
Modifying for Macro |
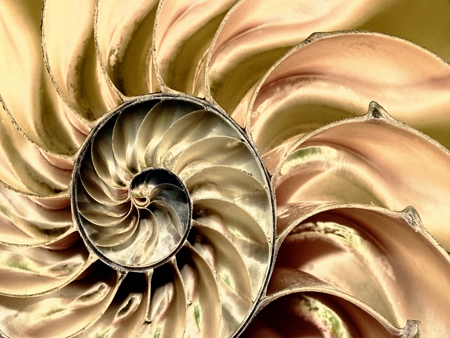
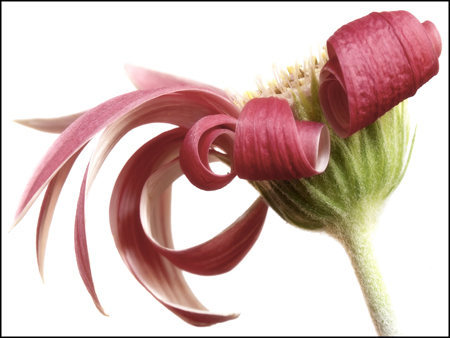
Moats approaches his macro work using two different styles. I shoot abstract, soft-focus images, and I also take photos where everything is in focus, he says. When Im creating my softer abstracts, I use all the lower f-stop numbers, such as wide-open at f/2.8 or maybe f/3.5. My everything-in-focus images, though, sell the best for me and win the contests. For those, I shoot at the higher f-stops: f/22 and up.
|
He almost always uses a tripod and advises other photographers exploring macro to do the same. Its important to have a nice, sturdy tripod, he says. I see people in my workshops who come in with low-end, inexpensive tripods, and theyre really unstable. In macro photography, when youre working with such high magnification and shooting subjects that youre extremely close to, it doesnt take much to show softness in the details because of camera movement.
|
While landscape and wildlife photographers are always on the hunt for just the right light typically, the warm glow of the early morning and late afternoon/early evening Moats informs his students that time of day is usually a nonfactor for macro photography. Our subjects are so small, so we can shoot from daybreak till dusk, because we control the light on that subject, he explains. If its a sunny day, use diffusers, so you can shoot even during harsh, midday sunlight. If you need to throw light into a certain area, use reflectors. |
When setting up your macro shots, Moats advises photographers to pay particular attention to the background, which many beginning macro shooters often neglect to take into account. Its a common mistake I see when people are photographing those plants, butterflies, or dragonflies Ill see really cluttered backgrounds behind the subjects, he says. They get preoccupied with the main subject to the point where they dont notice whats going in the background. Its not only about setting the right f-stop so you get the depth-of-field you want you also want to find just the right angle. If you can get that angle where the background is as far away as possible, you can go into those higher f-stops and get more depth-of-field on the subject and still maintain that blurred background so it doesnt get that cluttered look.
|
Wind can mar a macro shot even the slightest breeze can blow a flower or leaf out of position. If its not too windy, you can raise the ISO on your camera a little higher, says Moats. That speeds up your lens so you can hopefully stop the action. There are also special macro photography clamps you can attach to a flower stem to steady the flower.
|
Moats took his wind control a step further by building a plexiglass windbox to protect flowers from blowing around during his photo sessions (check out his easy-to-follow YouTube tutorial on building your own macro windbox). This type of unit works great, he says. You can shoot the flower right through the clear plexiglass backside of the box. Sometimes, depending on the sun angle, there might be a reflection, but you can put a diffuser or reflector on top of it and it cuts down on the light hitting the back. You can also add a backdrop to the back of the windbox so you dont get any reflection. |
To see more of Mike Moats photography, go to http://www.tinylandscapes.com. To enter the Tamron macro photography contest, go to http://tamron.myphotoexhibits.com/contest. |
|