Enewsletter
March 2013
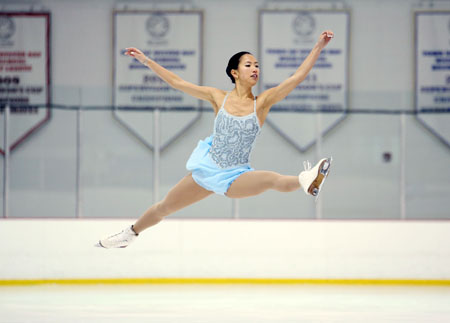
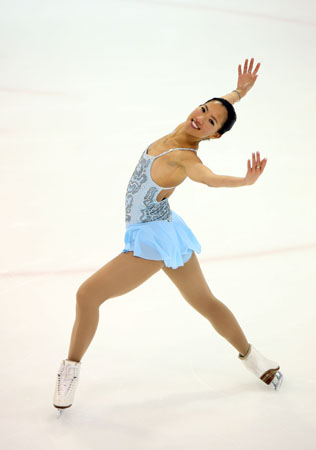
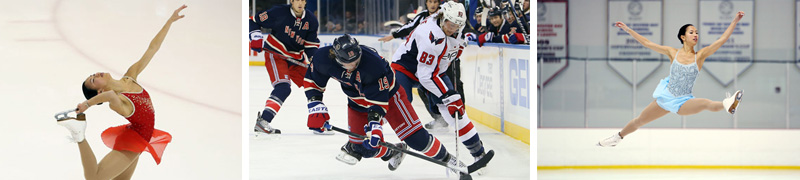
How to Photograph Ice SportsBruce Bennett takes the Tamron SP 70-200mm F/2.8 VC lens out for a spin at the rink for a figure-skating performance and NHL game. |
Article by Jenn Gidman Images by Bruce Bennett |
Bruce Bennett has been photographing on the ice for nearly four decades. From his early shots of a young Wayne Gretzky to his coverage of dozens of Stanley Cup matchups and figure-skating competitions, the director of photography for Getty Images' hockey division knows how to freeze the action and capture the big moments that make ice sports so compelling. |
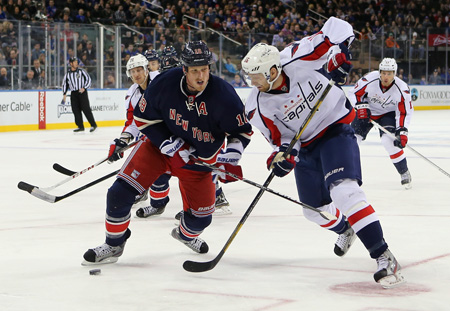
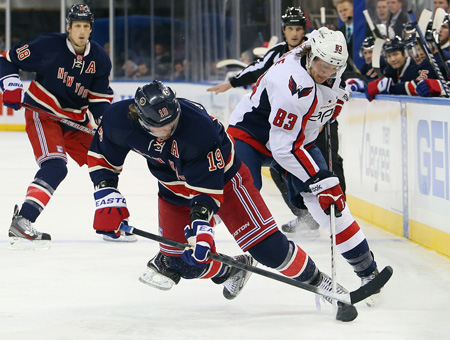
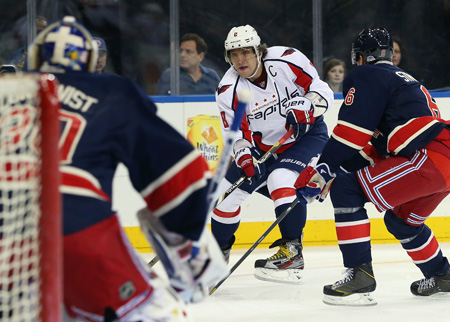
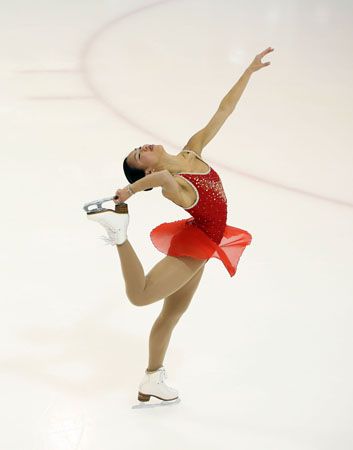
Bruce recently headed out to the rink for two events: an NHL hockey game between the New York Rangers and Washington Capitals and an ice-dancing performance by Long Island-based figure-skater Joelle Forte. Bruce brought along the Tamron SP 70-200mm VC lens to help him nail every breakaway and butterfly jump. "The 70-200 gives you a great focal length range for shooting from the corners of the rink," he says. "This lens is really responsive and very sharp, which makes a huge difference in this type of photography."
|
Read on for Bruce's tips on how to effectively capture all the action on the ice. |
Get your exposure down.
|
In the old days, we used to focus on someone wearing a neutral-colored outfit and do a meter reading off of her, then lock it in. Now the general rule of thumb is to do a meter reading off of the white: You can point your camera at the ice itself and then open up about two stops, which will get you closer to where you need to be. You can simply look at the screen on the back of your camera, magnify the image, look at the skin tones, and see if your exposure is correct that way. |
Shed some light on the athletes. |
Find the best vantage point. |
If you're shooting through plexiglass, you also need to keep your focal length short. You have a much better rate of success using the 70-200 if you're shooting somewhere between 70mm and 135mm. The angle at which your lens hits the glass is also very important: The more of an angle, the more chance you'll introduce the imperfections of the plexiglass into the image. You're best off in these cases picking a corner of the rink, where you have some mobility to shoot toward the net and also up-ice a little bit to get players in your own zone.
|
Focus fast. |
You can also sometimes prefocus in hockey, like when a player is getting ready for a faceoff. You can focus on the player, and as soon as the puck is dropped and the player starts the movement, you should be able to take the shot before he moves out of your range of focus. |
Freeze the action.
|
The higher the ISO, the grainier (or noisier) the image will be, so you don't want to just crank that ISO up right away. Shooting at 800 or 1600 ISO is typical indoors, though with the newer cameras, I can get away with 4000 or 5000 ISO before I start to see major degradation of the image. |
Generally in professional sports arenas, when you're not talking about spotlit scenes, I'd suggest shooting at 1/800th of a second, F/2.8, at 800 ISO as a starting point. In a smaller arena, you might want to try 1/800th of a second, F/2.8, at 1600 ISO. However, it varies so greatly from arena to arena that your best bet is to get in as tight as you can for a meter reading on someone who's standing out on the ice in the area where you're going to be photographing. |
Put together a variety of shots.
|
You also should try to get some images off the ice. For instance, with figure skating, maybe you can get over near the area where the skaters take a break so you show them drinking Gatorade or talking to other participants. That kind of detail makes you more of a complete photographer. |
Eliminate distracting elements.
|
Hand in hand with that: Get in tight, then get in tighter. As much as you can fill that frame, the better: Doing that gets rid of distracting elements in the background and gives your image more impact. |
Resist the temptation to stop shooting |
To see more of Bruce Bennett's work, go to www.brucebennettstudios.com.
|